0043: Dialogs IX - Customizing (2 of 3) - Action Area
A reminder…
This collection of topics is split up like this:
- Part I (last time) deals with how to create an aesthetically-pleasing widget layout for a custom
Dialog, - Part II (this one) covers user interaction, and
- Part III (next time) brings it all together.
Carrying on, we’ll talk about…
The Action Area
And as such, we’ll ignore everything else and just deal with buttons because that’s what the Action Area is all about. But before we get to examples, we need to look at…
The ResponseType Flags
There are two methods for creating and arming buttons for the Action Area and both methods use ResponseType flags. If you search /generated/gtkd/gtk/c/types.d for ResponseType you’ll find a list of all predefined Button responses that can be used in Dialog windows.
Where the afore-mentioned Button creation methods differ is in how the Buttons are named. We either:
- assemble an array of strings to use as button names, or
- build an array of stock IDs that provide predefined button names.
Naming Action Area Buttons by Hand

In this example, we’re supplying our own button names.
Here’s the first chunk of the ScratchDialog class:
class ScratchDialog : Dialog
{
	private:
	DialogFlags flags = DialogFlags.MODAL;
	ResponseType[] responseTypes = [ResponseType.YES, ResponseType.NO, ResponseType.ACCEPT];

	string[] buttonLabels = ["Yes", "No", "In the Barrel"];
	string titleText = "Do you know where the monkey is?";
We’ve used the DialogFlags type in every Dialog example we’ve done to date and it’s mostly useful to make the Dialog stay in front of its parent window (that modal stuff) so let’s take a quick look at…
The constructor:
public:
this(Window _parentWindow)
{
	super(titleText, _parentWindow, flags, buttonLabels, responseTypes);
	addOnResponse(&doSomething);
	run();
	destroy();

} // this()
Again, it’s pretty much what we’ve used before. So where does this example differ? Right here in the callback function:
private:
void doSomething(int response, Dialog d)
{
switch(response)
{
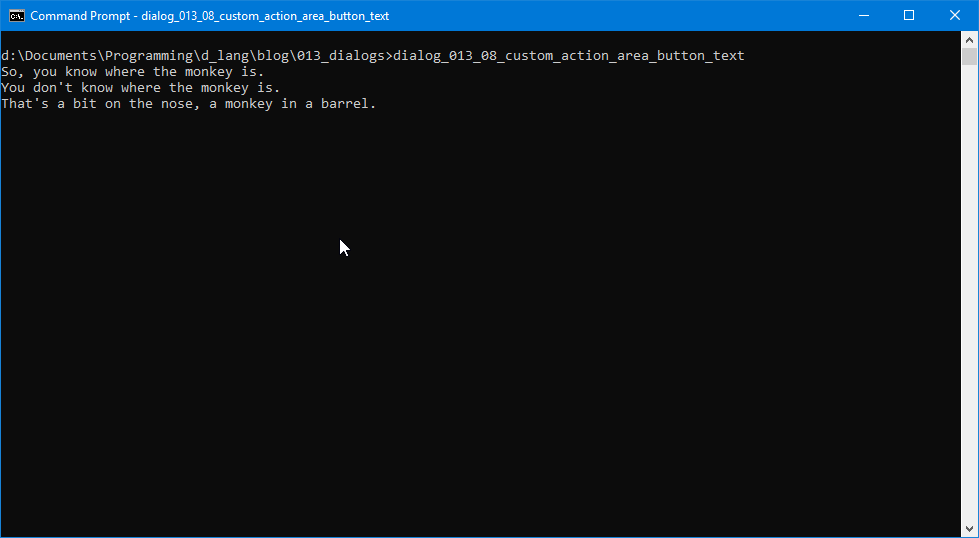
case ResponseType.YES:
writeln("So, you know where the monkey is.");
break;
case ResponseType.NO:
writeln("You don't know where the monkey is.");
break;
case ResponseType.ACCEPT:
writeln("That's a bit on the nose, a monkey in a barrel.");
break;
default:
writeln("Dialog closed.");
break;
}
} // doSomething()
} // class ScratchDialog
Like in other Dialog examples, we test the response and look for a match. The difference is we have more options and so a switch/case statement is substituted for if/else.
Okay, perhaps that didn’t turn out to be as exciting as it might have been, so let’s just move right along…
Using StockIDs to get Predefined Buttons
In this example using StockIDs, you might think because we’re not naming buttons, it’s less work, but it’s about the same:
class StockButtonDialog : Dialog
{
GtkDialogFlags flags = GtkDialogFlags.MODAL;
MessageType messageType = MessageType.INFO;
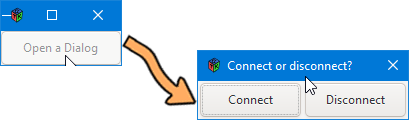
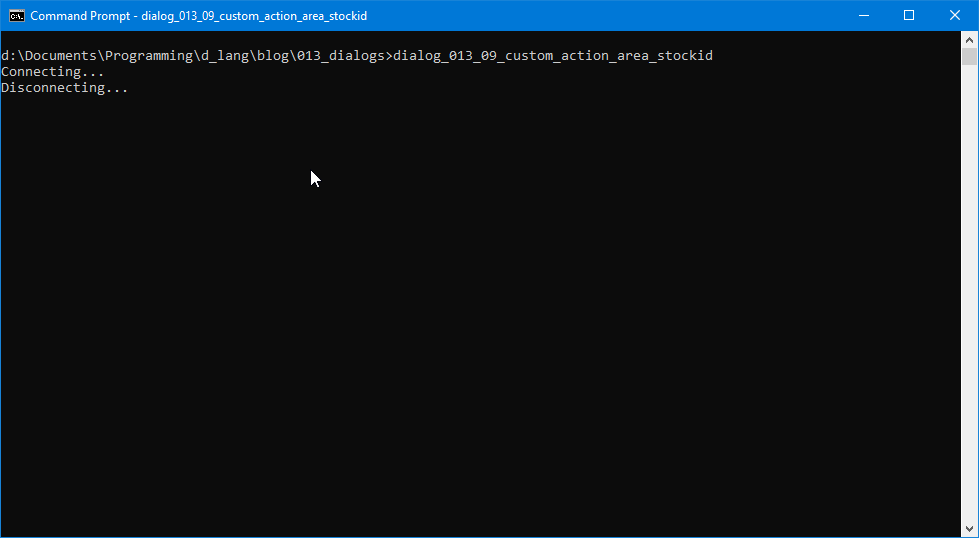
StockID[] stockIDs = [StockID.CONNECT, StockID.DISCONNECT];
ResponseType[] responseTypes = [ResponseType.YES, ResponseType.NO];
string titleText = "Connect or disconnect?";
Again, you can look in /generated/gtkd/gtk/c/types.d for the full list of StockIDs and there are tons of them. But! A lot of them are deprecated, so to lessen the burden of weeding out the ones that aren’t, I copied the still-current ones into another file that you can download if you wish.
Once you’ve picked out your button names, as before, just instantiate an array and you’re set.
The Constructor
this(Window _parentWindow)
{
	super(titleText, _parentWindow, flags, stockIDs, responseTypes);
	addOnResponse(&doSomething);
	run();
	destroy();

} // this()
The only significant difference in the constructor is that we pass in an array of StockID types instead of buttonLabel names.
The callback is the same in principle, so I’ll leave you to view it at your leisure.
Conclusion
One more thing of note…
If you have some very specialized actions in mind for your custom Dialog, you may be better off to go with the first method of naming Buttons using a string array. The ResponseType names may not match up to these specialized actions, but you can cover that up with how you name the Buttons. No one ever has to know that the ResponseType.CONVERT flag used with a Button named Flying Rat triggers a function called goFetchAnotherPigeonPhoto().
So, that’s the Dialog’s action area. Next time we finish up this mini-series as we dig into the Content Area and bring everything together.

Comments? Questions? Observations?
Did we miss a tidbit of information that would make this post even more informative? Let's talk about it in the comments.
- come on over to the D Language Forum and look for one of the gtkDcoding announcement posts,
- drop by the GtkD Forum,
- follow the link below to email me, or
- go to the gtkDcoding Facebook page.
You can also subscribe via RSS so you won't miss anything. Thank you very much for dropping by.
© Copyright 2024 Ron Tarrant