0031: Menus VI - Image on a Menu
The GTK ImageMenuItem has been deprecated, but…
For crossing language barriers or giving your application visual appeal, nothing beats an image. So how can we stick one in a menu?
As it turns out (surprise, surprise) a MenuItem is actually a container, so adding images is rather easy. The MenuItem shares characteristics with the Button widget in that it can hold one item and only one item.
The FakeImageMenuItem
Only one part of the source is significantly different, so we’ll concentrate on that. Just because the ImageMenuItem has been deprecated doesn’t stop us from faking it like this:
class FakeImageMenuItem : MenuItem
{
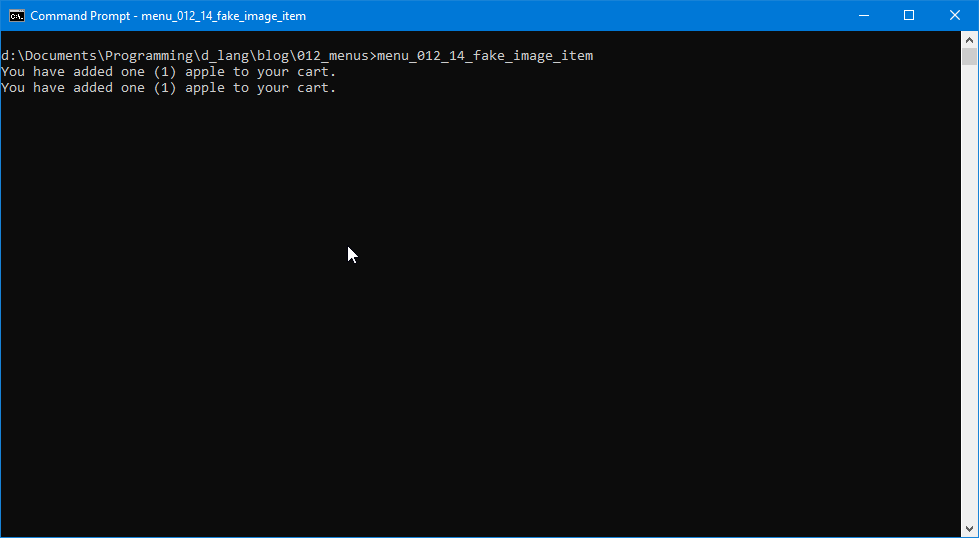
string actionMessage = "You have added one (1) apple to your cart.";
ImageMenuBox imageMenuBox;
this()
{
super();
imageMenuBox = new ImageMenuBox();
add(imageMenuBox);
addOnActivate(&reportStuff);
} // this()
void reportStuff(MenuItem mi)
{
writeln(actionMessage);
} // exit()
} // class FakeImageMenuItem
The defined variables at the top are pretty obvious:
actionMessage: give the user feedback when theMenuItemis selected, andImageMenuBox: aBoxto stuff things into.
Then, just like a Button, we add() the Image and then set up a signal.
This callback is nothing unusual, so let’s look at where all that Box stuffing was delegated to…
The ImageMenuBox Class
And here it is:
class ImageMenuBox : Box
{
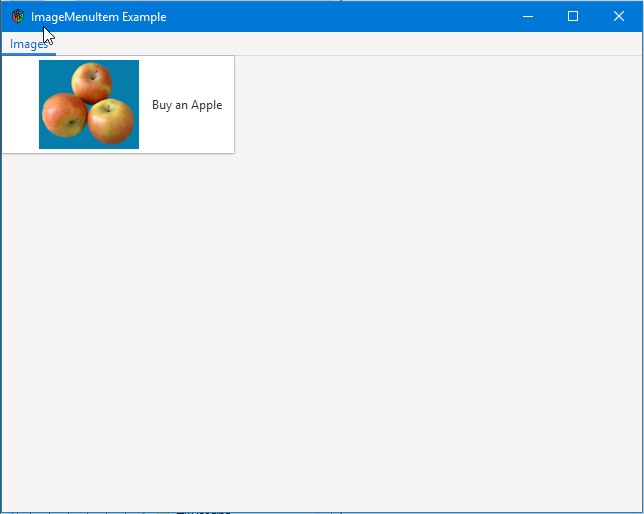
string imageLabelText = "Buy an Apple";
string imageFilename = "images/apples.jpg";
Image image;
Label label;
this()
{
super(Orientation.HORIZONTAL, 0); // no padding
image = new Image(imageFilename);
label = new Label(imageLabelText);
packStart(image, true, true, 0);
packStart(label, true, true, 0);
}
} // class ImageMenuBox
In the initialization phase, we define an Image and a Label to stuff into the Box. Once they’re instantiated in the constructor, we pack them in and that’s that.
Note: Padding is optional. The Image and Label are spaced far enough apart to look aesthetically pleasing without it, but that can’t stop you from experimenting.
The FakeIconMenuItem
This second example shows that using stock icons instead of images is also possible.
This is pretty much the same as using an image, code-wise, although I would like to point out where the icons are and which ones are usable under these circumstances. Let’s start with the code and go from there:
class IconMenuBox : Box
{
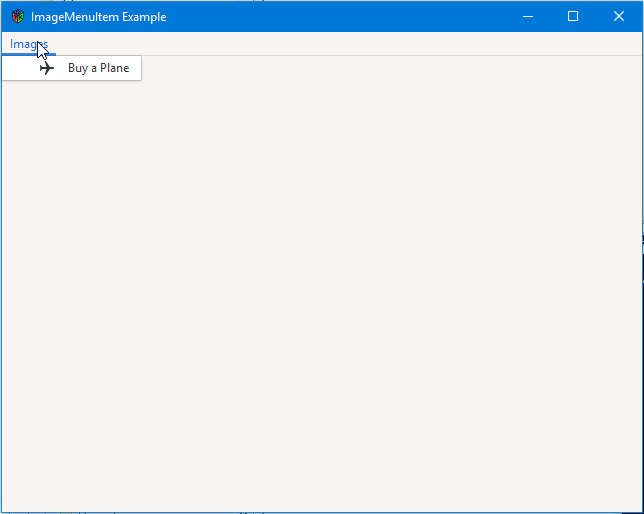
string menuLabelText = "Buy a _Plane";
Image icon;
string iconName = "airplane-mode-symbolic";
Label label;
this()
{
super(Orientation.HORIZONTAL, 0); // no padding 'cause we're on a menu
icon = new Image(iconName, IconSize.MENU);
label = new Label(menuLabelText);
packStart(icon, true, true, 0);
packStart(label, true, true, 0);
}
} // class IconMenuBox
See? Nothing earth-shattering or (really) all that different, so let’s talk about the nitty-gritty details…
Icons
Okay, there are a few things you need to know…
First, you’ll wanna know where the icons live so you can look at them and decide which you wanna use. On Windows, you’ll find them either here:
C:\Program Files\GTK3-Runtime Win64\share\icons
or here:
C:\Program Files\GTK3-Runtime\share\icons
On Linux, icons are part of the desktop theme system and you’ll find them here:
/usr/share/icons
You’ll have to drill down into one of the theme directories to see the actual icons.
Second, I played around with these a bit and discovered a few things:
- when referring to the icon in your code, always drop the file extension,
- if an icon filename ends in ‘
-symbolic.symbolic.png’ keep ‘-symbolic’ and drop ‘.symbolic.png’, - the icon set used in menus is normally 16x16 (the size is determined by IconSize.MENU).
Third, you can’t make an ad hoc addition to any of these icon sets without rolling up your sleeves and diving into Linux theme creation. Getting them from there to Windows will be another whole can of worms. Both of these endeavours is beyond the scope of this blog.
Conclusion
So my advice on this point is, if you wanna roll your own custom images for menus (or anything other part of a UI) and make them look like icons, use the FakeImageMenuItem approach and just make the image 16x16 pixels. Oh. And hire an experienced artist. Too many of them get asked to do stuff for no money and they’re worth paying. Seriously.
And here we are at the end of another gtkDcoding blog post. May you never get involved in a fish-slap dance… unless you’re willing to get wet. See you next time.

Comments? Questions? Observations?
Did we miss a tidbit of information that would make this post even more informative? Let's talk about it in the comments.
- come on over to the D Language Forum and look for one of the gtkDcoding announcement posts,
- drop by the GtkD Forum,
- follow the link below to email me, or
- go to the gtkDcoding Facebook page.
You can also subscribe via RSS so you won't miss anything. Thank you very much for dropping by.
© Copyright 2024 Ron Tarrant