0028: Menus III - CheckMenuItems
Today we’ll cover another type of MenuItem, the CheckMenuItem. This post is longer than usual because after doing the simple version, I wanted to do a multiple CheckMenuItem version as well and that led to a whole can of worms dumped on my desktop. Anyway, let’s get on with it…
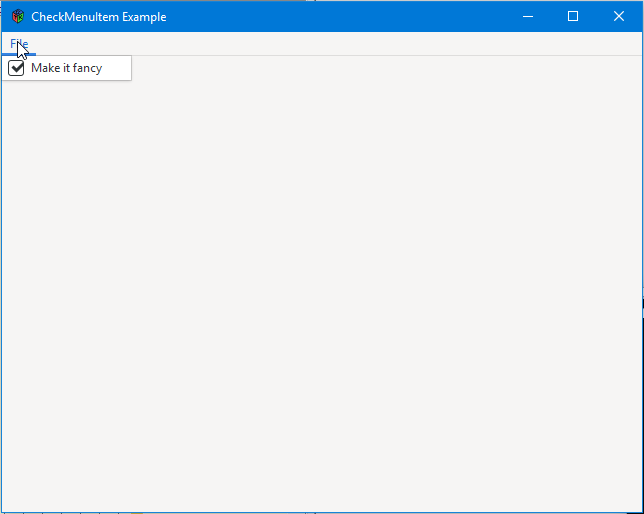
Single CheckMenuItem


For the most part, this is very much the same as other MenuItems. It’s created by calling for a new CheckMenuItem and it’s appended to a Menu in the same way, but where it strays from the norm is:
- you need to decide the default state of the
CheckBox, is it checked or not, and - the callback needs to handle both checked and unchecked states because it’s triggered by toggling the
CheckBoxand *not *just by setting it to an active state.
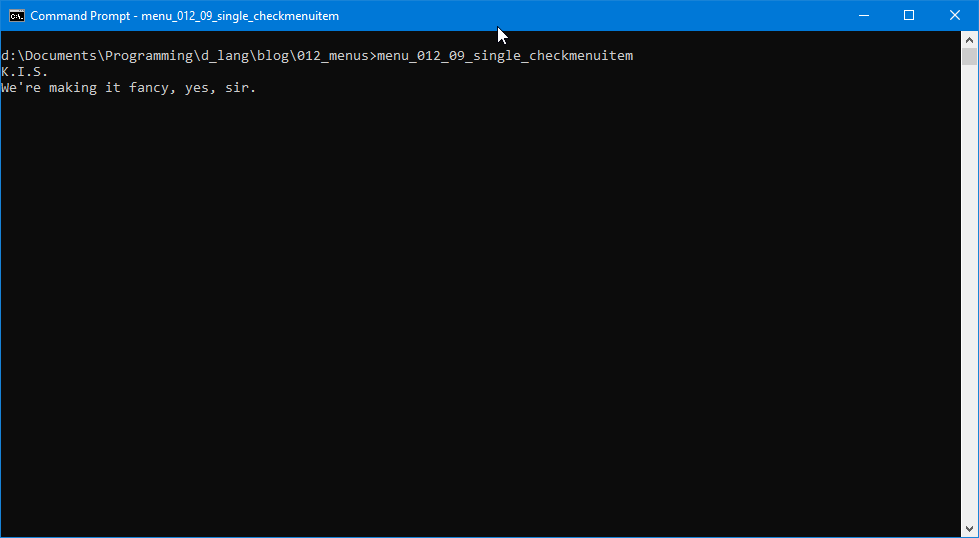
The beauty of this last point is that we can set up the callback to perform two different actions, one when the CheckBox is activated, another when it’s deactivated. (A similar behaviour is inherited by the RadioMenuItem as we’ll see in the next blog post.)
The simplest way to write the callback is to check the state of the CheckBox with getActive() and decide what to do from there:
void choose(CheckMenuItem mi)
{
	if(getActive() == true)
	{
		keepItFancy();
	}
	else
	{
		makeItPlain();
	}

} // choose()
While digging into this widget, I found myself unable to resist doing a more complex version with multiple CheckMenuItems, so here we go…
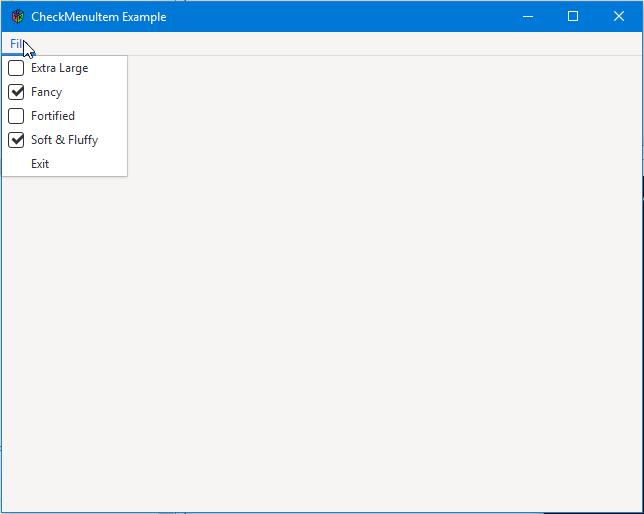
Multiple CheckMenuItems and Tracking Their States


Before we look at the CheckMenuItems themselves…
The ObservedFeaturesList Object
This example spotlights an imaginary object and the features controlled with the CheckMenuItems. Here’s the code to define this imaginary object:
class ObservedFeaturesList
{
	bool[string] features;

	this()
	{
		features = ["Fancy" : true, "Fortified" : false, "Extra Large" : false, "Soft & Fluffy" : true];

	} // this()


	void setFeature(string featureName, bool state)
	{
		features[featureName] = state;

	} // setFeature()


	bool getFeature(string featureName)
	{
		return(features[featureName]);

	} // getFeature()


	void listFeatures()
	{
		foreach(name, feature; features)
		{
			writeln(name, " = ", feature);
		}

	} // listFeatures()

} // class ObservedFeaturesList
This is a different approach than we’ve taken before. This class keeps track of:
- the number of features,
- their names, and
- their states (on or off, signified by true or false)
The features associative array is the only part of the code we need to fiddle with when deciding which features are turned on by default, another reason why using a generic approach to coding other classes makes sense.
Also, the key names are used as labels when creating the CheckMenuItems, so there’s another thing we only have to deal with here in this one place.
This ObservedFeaturesList object is instantiated in…
Back to the Top
Jumping back to the TextRigWindow class, we see some changes to our usual code:
class TestRigWindow : MainWindow
{
	string title = "CheckMenuItem Example";
	ObservedFeaturesList observedList;

	this()
	{
		super(title);
		setDefaultSize(640, 480);
		addOnDestroy(&quitApp);

		observedList = new ObservedFeaturesList();

		AppBox appBox = new AppBox(observedList);
		add(appBox);

		showAll();

	} // this()


	void quitApp(Widget w)
	{
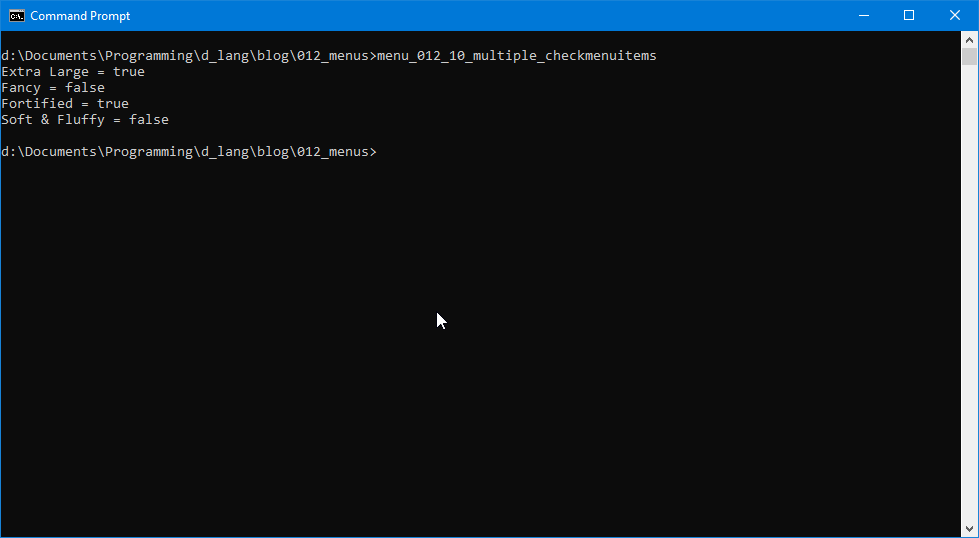
		observedList.listFeatures();

		Main.quit();

	} // quitApp()

} // TestRigWindow
Because all of the CheckMenuItems need access to the ObservedFeaturesList and I also wanted to duplicate Exit MenuItem action when the user clicks the window’s Close button, I created the observed object here and passed it down through the hierarchy.
The FileMenu Class
Here, because the CheckMenuItems are all so similar, we can get away grabbing the names (itemKey) from within a foreach loop to create the items:
class FileMenu : Menu
{
	FeatureCheckMenuItem[] featureItemArray;
	FeatureCheckMenuItem featureItem;
	ExitItem exitItem;

	this(ObservedFeaturesList extObservedList)
	{
		super();

		foreach(itemKey, itemValue; extObservedList.features)
		{
			featureItem = new FeatureCheckMenuItem(extObservedList, itemKey);
			featureItemArray ~= featureItem;
			append(featureItem);
		}

		exitItem = new ExitItem(extObservedList);
		append(exitItem);

	} // this()

} // class FileMenu
Note that when using an associative array with a foreach loop, we need to name a pair of iterators, a key and a value, as well as the associative array even though we don’t actually use itemValue. Within the loop, we do the standard stuff:
- grab the item’s name from
features, - create the
CheckMenuItem, - add it to the local array of
FeatureCheckMenuItems, and - append it to the
Menu.
Once we’re done with those, it’s back to adding the exitItem in the usual way.
One last bit to look at…
The FeatureCheckMenuItem Class
There’s a little more going on here than with other types of MenuItem. Here’s the code:
class FeatureCheckMenuItem : CheckMenuItem
{
	string labelText;
	ObservedFeaturesList observedList;

	this(ObservedFeaturesList extObservedList, string extLabelText)
	{
		labelText = extLabelText;
		super(labelText);

		observedList = extObservedList;
		addOnToggled(&toggleFeature);
		setActive(observedList.getFeature(labelText));

	} // this()


	void toggleFeature(CheckMenuItem mi)
	{
		if(getActive() == true)
		{
			observedList.setFeature(labelText, true);
		}
		else
		{
			observedList.setFeature(labelText, false);
		}

	} // toggleFeature()

} // class FeatureCheckMenuItem
Because the individual CheckMenuItems differ only in label text, we can get away with this being a generic class and deal with the naming step up in the FileMenu class we just looked at. The constructor gets access to the ObservedFeaturesList object like everyone else.
After calling the super-class constructor and setting a couple of local variables, the callback is attached and then we come to:
setActive(observedList.getFeature(labelText));
As mentioned above in the section on The ObservedFeaturesList object, this function defers the decision about the CheckMenuItem’s state to the observed list object.
Next time, we’ll do pretty much the same thing except with RadioMenuItems. However, the mutual-exclusivity of RadioMenuItems demands a different approach in a few areas.
Until then, happy coding, happy hunting, happy birthday, or happy New Year, whatever’s your poison.
Comments? Questions? Observations?
Did we miss a tidbit of information that would make this post even more informative? Let's talk about it in the comments.
- come on over to the D Language Forum and look for one of the gtkDcoding announcement posts,
- drop by the GtkD Forum,
- follow the link below to email me, or
- go to the gtkDcoding Facebook page.
You can also subscribe via RSS so you won't miss anything. Thank you very much for dropping by.
© Copyright 2024 Ron Tarrant
