0026: Menus I - The Basics
Menus in GTK have three rules:
- only a
MenuItemcan be added to aMenuBar, - only a
MenuItemcan be added to aMenu, and - only a
Menucan be added to aMenuItem.
Yup, that last one just doesn’t look right, but I’ll explain in a moment.
Step 1: MenuBar
Our first example is completely useless. It’s only reason for existing is to show the first step in building a menu without all the clutter that’ll come after we get a few steps deeper.
And like always, I’m going to add some top-level stuff that may not seem necessary… until later. I’ll do my best to shine the light and aim it true so this all becomes clear.
First up, the TestBox Class
class TestBox : Box
{
	TestMenuBar menuBar;

	this()
	{
		super(Orientation.VERTICAL, 10);

		menuBar = new TestMenuBar();
		packStart(menuBar, false, false, 0);

	} // this()

} // class TestBox
Naturally, you’ll need a Box or some other multi-widget container if you’re doing a standard interface because you’ll want it to contain at least two of these:
- a
MenuBar, - a
ToolBar, - a work area, and
- a
StatusBar.
You may even want all of these or more.
Second, a MenuBar
But not just a MenuBar, a class claiming a MenuBar in its parentage:
class TestMenuBar : MenuBar
{
	MenuItem fileMenuItem;
	string fileMenuName = "File";

	this()
	{
		fileMenuItem = new MenuItem(fileMenuName);
		append(fileMenuItem);

	} // this()

} // class TestMenuBar
The reason for this derived class is that, like in earlier examples, we may need some UI objects to communicate with others and having them all jammed into a derived MenuBar object means we can set up those communication channels right here if it’s appropriate for the application we’re building.
Which leads me to another point about the TestBox-derived-from-Box above. This is the level where the menu system, work area, status and tools all communicate with each other. It’s like having global variables, but without the mishaps and monkeyshines of globals.
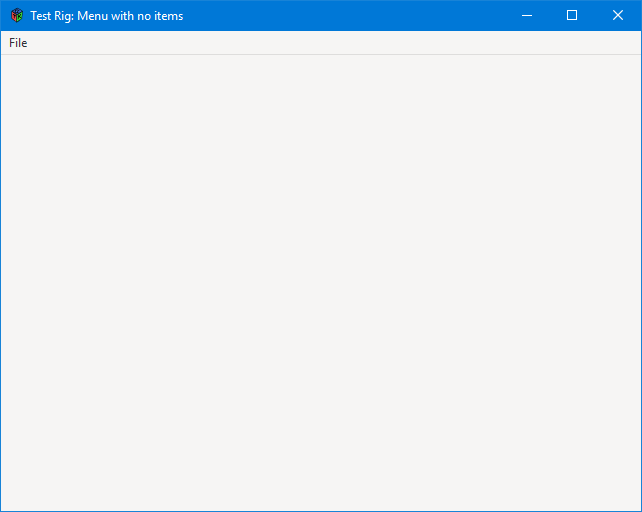
If you compile and run this example, you’ll see a File menu, but it won’t do anything, not even drop a menu down in your face. It’s completely useless, as I mentioned, but now you know how a barebones MenuBar is coded.
Adding an Actual Menu

Moving on, we’ll add a Menu and so it’ll look like one, we’ll add a MenuItem. Things get switched up a bit here because the more we have of a real, working menu, the more we want to keep elements of the UI inside the classes that use them. To that end, the MyMenuBar class takes over from the TestMenuBar and the Menu’s title gets pushed down to a new class, FileMenuHeader:
class FileMenuHeader : MenuItem
{
	string headerTitle = "File";
	FileMenu fileMenu;

	this()
	{
		super(headerTitle);

		fileMenu = new FileMenu();
		setSubmenu(fileMenu);


	} // this()

} // class FileMenu
Now, understand that in GTK parlance, there’s no such thing as a MenuHeader. Note that it’s derived from the MenuItem class. Remember the first rule of GTK Menus back at the beginning of this post?
Only a MenuItem can be added to a MenuBar.
And so to keep things straight in my head, I created the FileMenuHeader class.
Note: As things go along and more menus get added, it will make sense to have a MenuHeader class from which all menu header items are derived. But for now, this works.
And Now for the Actual Menu
Didn’t I say that already? Yes, but to follow the rules, we had to attach a MenuItem named File to the MenuBar so we have a place to hang our Menu. That’s so it has a name and now we can do the actual menu:
class FileMenu : Menu
{
	ExitItem exitItem;

	this()
	{
		super();

		exitItem = new ExitItem();
		append(exitItem);

	} // this()


} // class FileMenu
Nothing exciting here, but notice this is where we start thinking in terms of MenuItems that’ll be added to the Menu. We declare them here and the constructor appends them to the menu.
Finally, a MenuItem
class ExitItem : MenuItem
{
	string exitLabel = "Exit";

	this()
	{
		super(exitLabel);
		addOnActivate(&exit);

	} // this()


	void exit(MenuItem mi)
	{
		Main.quit();

	} // exit()

} // class FileMenuItem
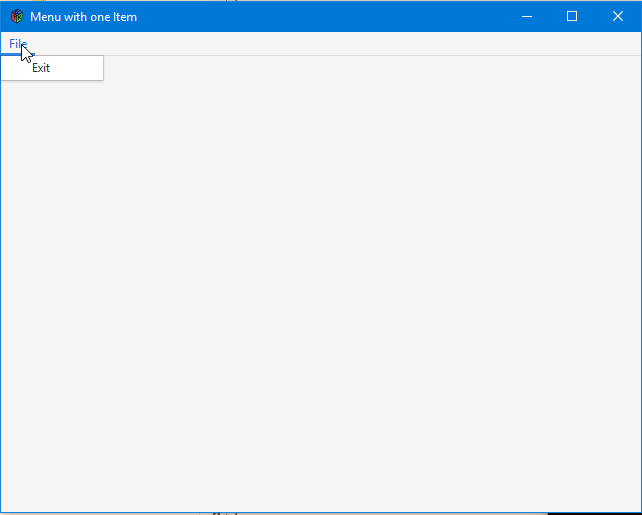
And there you have it, the workhorse of the Menu, a MenuItem. There’s really nothing here we haven’t done dozens of times with Buttons.
More Menus and MenuItems
Nothing to it, really, just do more of what we’ve already been doing. Even adding a sub-menu isn’t a big deal, just pick the MenuItem where the sub-menu will attach, add a Menu to it, and add the sub-MenuItems to that Menu.
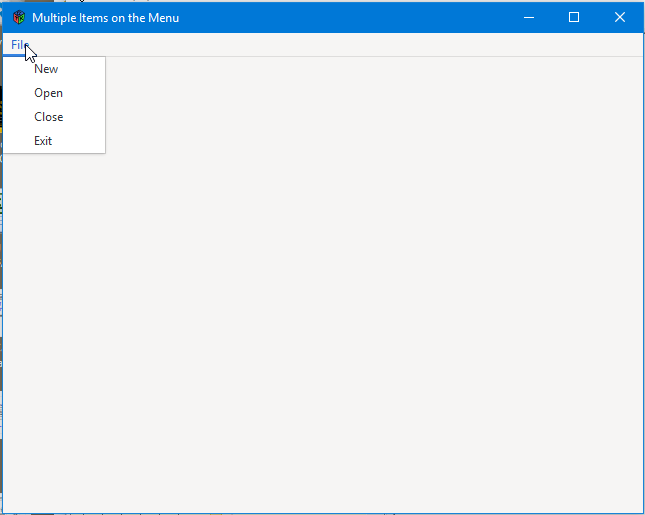
So, here are the rest of the examples:
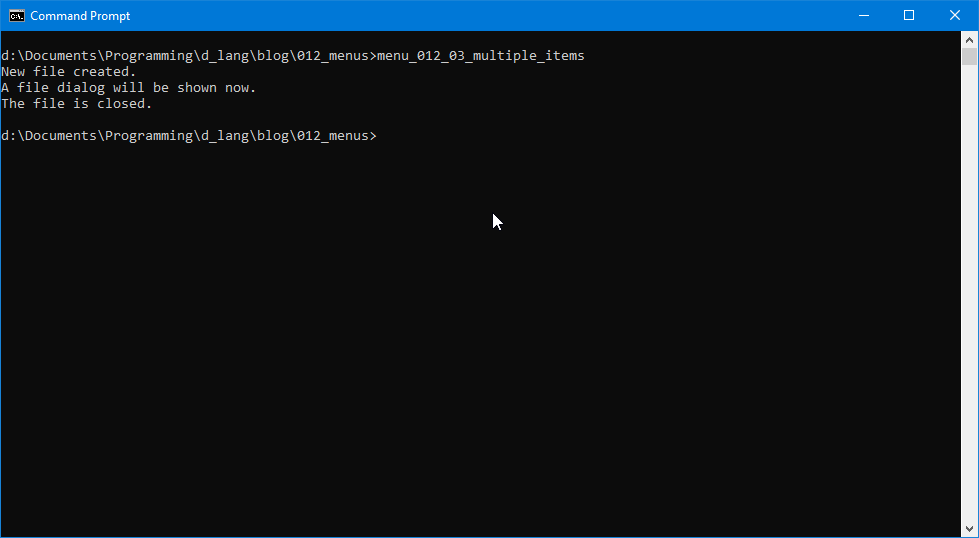
Multiple MenuItems
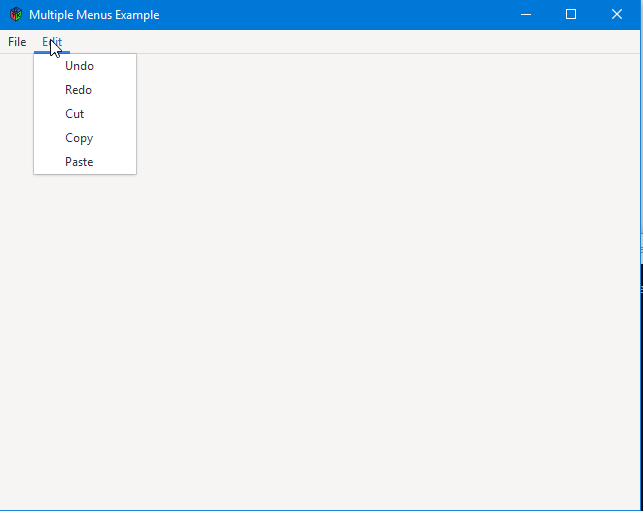
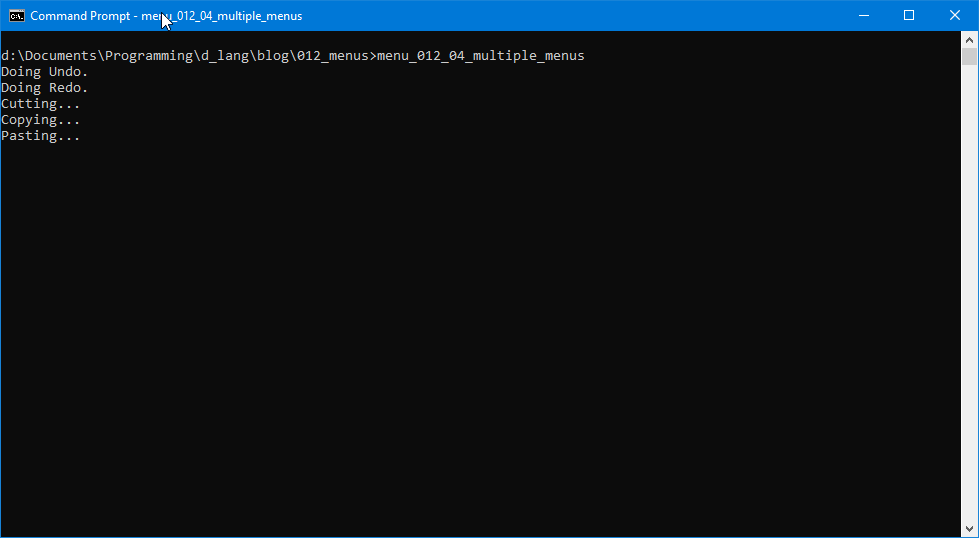
Multiple Menus
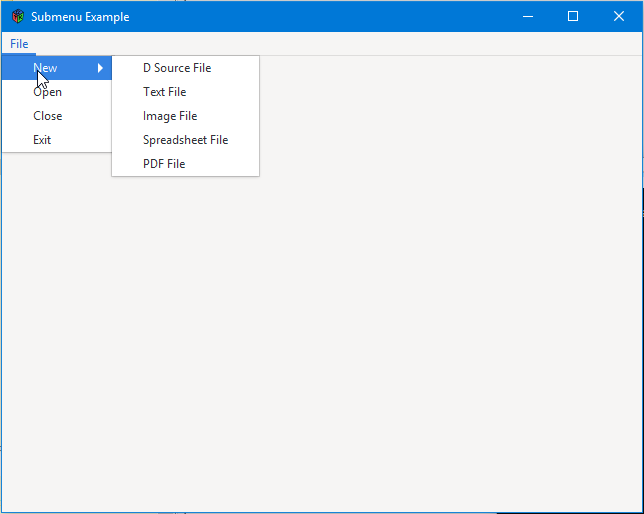
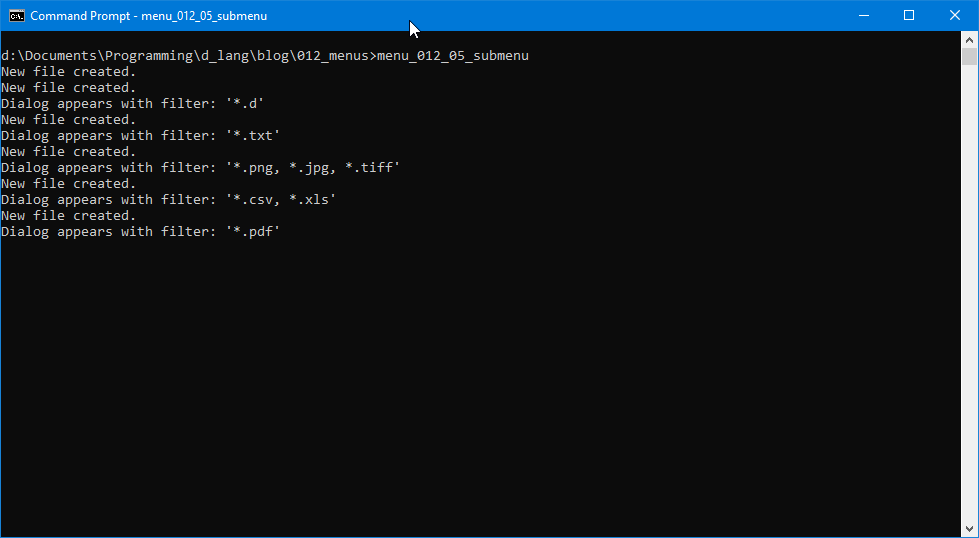
A Menu with a SubMenu
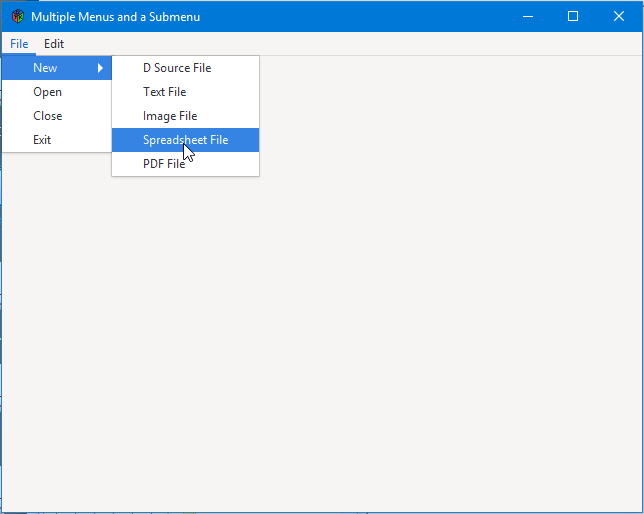
Multple Menus with Multiple SubMenus
That’s pretty much it for today, but I did say I’d explain the GTK menu rules, and so…
Menu Rules
Why this confusion about a Menu only being added to a MenuItem and vise versa?
Let me answer that question with another:
How would you attach a sub-menu without defining yet another class? In fact, here’s another question: What’s the least number of classes you’d have to define in order to have a complete, full-featured menu system?
My guess is three:
- a
MenuBar, - a
Menu, and - a
MenuItem.
It does make building menus slightly non-intuitive at first, but it covers all the bases. And as long as you diagram your menu system, you won’t go astray. The procedure is more or less this:
- attach a
MenuItemto theMenuBarto act as a menu header, - attach a
Menuto theMenuItemheader, - attach
MenuItems to theMenu(intuitive, no problem), - for a submenu, the already-in-place
MenuItemacts as the sub-header, - attach a
Menuto theMenuItemsub-header, and - attach
MenuItems to theMenuacting as a sub-menu.
Now that wasn’t too much of a brain-buster, was it?
One last thing…
The MenuItem function for adding a Menu is named: setSubmenu(). Don’t let this trip you up. It adds all Menus whether they’re top-level Menus hanging directly from the MenuBar (actually, the MenuItem hanging from the MenuBar) or sub-menus.
And on that note, I’ll leave you to it. Have fun and see you next time.

Comments? Questions? Observations?
Did we miss a tidbit of information that would make this post even more informative? Let's talk about it in the comments.
- come on over to the D Language Forum and look for one of the gtkDcoding announcement posts,
- drop by the GtkD Forum,
- follow the link below to email me, or
- go to the gtkDcoding Facebook page.
You can also subscribe via RSS so you won't miss anything. Thank you very much for dropping by.
© Copyright 2024 Ron Tarrant