0108: D Snippets IV - Using Arrays in a UI Context
So, what do you do when you need to pick an object out of a bunch/collection/array for special processing? Or deletion?
Last time, we talked about adding and removing Observers from a watched object’s list and this technique ties right into that discussion. It’s the kind of thing that also comes up when you want to remove a tab from a Notebook.
Let’s have a look at another D-specific trick for hunting down stuff in arrays…
The countUntil() Function
To use the countUntil() function, we need to:
import std.algorithm;
To demonstrate this at its simplest, I wrote a quick test where everything takes place in the main() function:
void main(string[] args)
{
int[] intArray = [1, 5, 46, 3, 22, 10, 7];
string[] stringArray = ["buzz", "fill", "hope", "negatory", "bobberdoodle"];
long intIndex, stringIndex;
int findVar = 22;
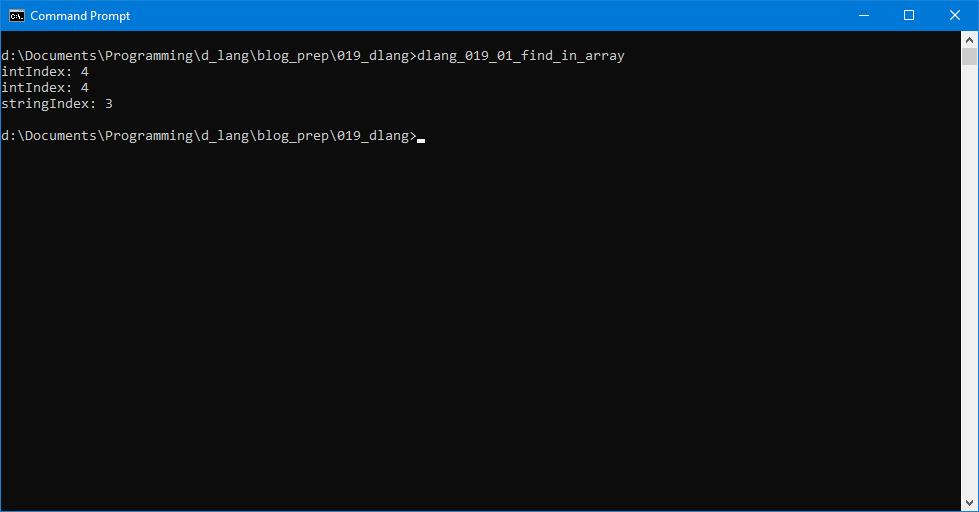
intIndex = intArray.countUntil(22);
writeln("intIndex: ", intIndex);
intIndex = intArray.countUntil(findVar);
writeln("intIndex: ", intIndex);
stringIndex = stringArray.countUntil("negatory");
writeln("stringIndex: ", stringIndex);
} // main()
The beauty of countUntil() is that it finds the value of the variable you’re looking for and returns the position in the array as a long. This makes life easy if you’re trying to identify an array element without resorting to such things as object ID’s. And it works whether that value is an integer, a string, or an object reference.
Now let’s put this into a GTK example…
Find a Reference in an Array
First, a quick note about the imports at the top of the file…
We already talked about this one:
import std.algorithm;
But I’ve added another:
import std.conv;
This isn’t necessary to make countUntil() work. It’s only here so we can create a bunch of buttons using a for() loop. I did it this way so we can try this with any number of buttons without having to fiddle around with copying and pasting a bunch of statements.
Moving on…
Until we get to the AppBox class, things are very much the same as usual, so let’s skip right to it.
The AppBox
There’s something important we need to keep in mind when creating an array of widgets and it fits neatly into the OOP programming paradigm. It’s this:
We can’t access an array from outside its home object without extra smoke and mirrors.
In fact, I’d say it’s nigh on impossible, but it doesn’t matter if that’s true or not. It’s bad practice, so I’d advise not doing it. D forces us to use OOP techniques like this in the way they were meant to be used and who are we to question the language designers? When we get to the section of this discussion where we look at the MyButton object, you’ll see that we reach back up to the AppBox level to carry out the search for the current MyButton in the array… and since the array lives in AppBox, this makes total sense.
Anyway, if my point isn’t clear, it’ll become more so as we go along, so let’s just continue…
AppBox Preamble
Ignoring the properties that are just for the AppBox itself, we have these:
MyButton[] buttons;
MyButton newButton;
int lastButtonID = -1;
They are:
buttons: an array to holdMyButtonreferences,newButton: a placeholder for eachMyButtoncreated that lasts the lifetime of thefor()loop, just long enough so it can be tacked onto the end of thebuttonsarray,lastButtonID: a unique ID for each button created.
That last property isn’t strictly necessary and is only there so we can use it to prove that the code works.
The AppBox Constructor
I won’t reproduce the whole thing here, just the bits that concern us in this discussion, which are:
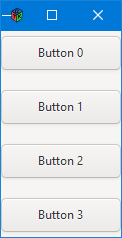
foreach(int i; 0..4)
{
lastButtonID++;
newButton = new MyButton(to!string(lastButtonID), this);
packStart(newButton, expand, fill, localPadding);
buttons ~= newButton;
}
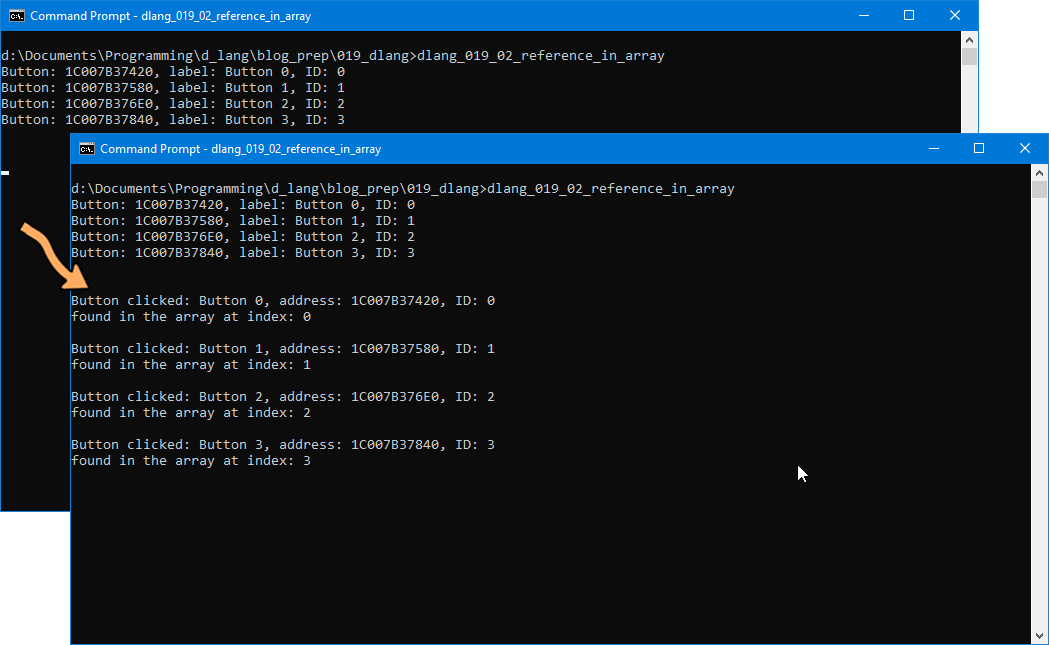
foreach(ulong i; 0..buttons.length)
{
writeln("Button: ", cast(MyButton*)buttons[i], ", label: ", buttons[i].getLabel(), ", ID: ", buttons[i].buttonID);
}
The first foreach() loop creates the buttons array, the second lists them all so we can see the RAM location for each.
Notice the use of to!string() to convert the lastButtonID integer to a string so it can be used as part of the label text for MyButton.
One more thing of interest in the AppBox class is…
The findButton() Function
And it looks like this:
long findButton(MyButton findButton)
{
	long index = buttons.countUntil(findButton);

	return(index);

} // findButton()
This is called whenever a button is clicked and it returns the index of the clicked button. OOP philosophy demands that this search take place here in the AppBox because that’s where the array of MyButton objects lives. This is what I was alluding to earlier. You may be able to find a way to search a reference to the array from inside another object, but I couldn’t find a way to do that… not that I’m an expert in the D language, but my point is, it’s far more trouble than it’s worth. And most of the time, you’ll be looking for the widget’s reference from elsewhere, so I wanted to stress that this is the easy way… perhaps, the only way… to get accurate results.
Moving on…
The MyButton Class
The preamble looks like this:
string labelText = "Button ";
int buttonID;
AppBox _appBox;
The _appBox variable is the reference to our AppBox and will be used in the buttonAction callback below.
Since nothing out of the ordinary happens in the constructor—we use the constructor arguments to name the button and assign the _appBox reference, then hook up the callback—let’s move right along to the callback function itself:
void buttonAction(Button b)
{
	MyButton* currentButton = cast(MyButton*)this;
	writeln("Button clicked: ", getLabel(), ", address: ", currentButton, ", ID: ", buttonID);
	writeln("found in the array at index: ", _appBox.findButton(this), "\n");

} // buttonAction()
Now, you’ll see a lot of mucking around with cast()ing and pointers, but take note that when we pass the MyButton reference to _appBox.findButton(), we just pass it this. No pointer, no address, just the actual bare-bulb this reference.
And that’s how easy this is. Sometimes, life doesn’t have to be difficult… and this is one of those times.
Conclusion
And that’s that. Join me next time when we do something else interesting with the D language and the Gnome Toolkit.
Until then, happy coding.

Comments? Questions? Observations?
Did we miss a tidbit of information that would make this post even more informative? Let's talk about it in the comments.
- come on over to the D Language Forum and look for one of the gtkDcoding announcement posts,
- drop by the GtkD Forum,
- follow the link below to email me, or
- go to the gtkDcoding Facebook page.
You can also subscribe via RSS so you won't miss anything. Thank you very much for dropping by.
© Copyright 2024 Ron Tarrant