0001: Introduction to the Test Rig
Before we start examining the test rig code, I’d like to introduce you to a couple of syntax highlighting configurations for two popular text editors on Windows.
PS Pad and CodeBlocks Syntax Highlighters
If you haven’t settled on an editor with support for D, I’d like to make a couple of recommendations. I’ve written lexers for GtkD for two text editors, PSPad and CodeBlocks. You can find them along with instructions for where to install them in the downloads directory on my GitHub site.
The Test Rig Code

This version of the test rig is written in the imperative paradigm. There’s a second one we’ll look at next time that’s written for OOP. And now here’s a breakdown of the test rig code:
Imports
import std.stdio;
import gtk.MainWindow;
import gtk.Main;
import gtk.Widget;
D uses import statements to pull stuff in from other files. Anything to the left of the dot (.) is a directory/folder and everything following is a file name without an extension. In this case, files are dragged in from two locations (Note: the top level directory is where the D libraries were installed):
- /src/phobos/std/, and
- /src/gtkd/gtk/.
And since all these files are D-language modules, the extension being left off is .d. And each gtkD module contains a struct that acts as a wrapper and supplies hooks into the GTK libraries.
main()
void main(string[] args)
Just like C, D demands a main() function unless you’re building a library. This one is defined as:
- having no return value, and
- takes an array of strings as arguments from the command line.
{
Yup, there’s that opening curly brace on a line all by itself, just like I said it would be. You all know what it means, so let’s just carry on.
Initialization
string windowTitle = "Test Rig";
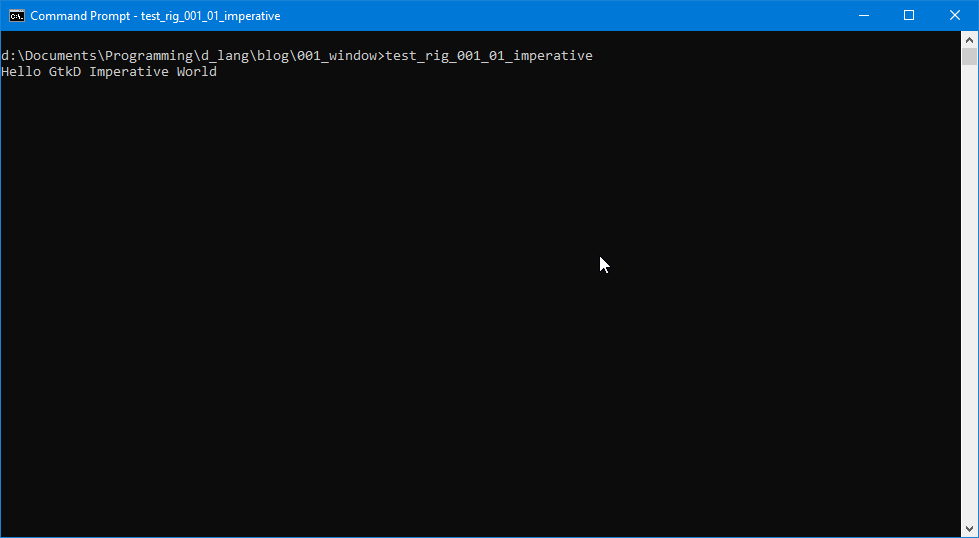
string message = "Hello GtkD Imperative World";
Main.init(args);
After a couple of string variables get set, the last line calls the init() function in GtkD’s Main module. Command line arguments are passed along. We’ll see why sometime down the road.
MainWindow testRigWindow = new MainWindow(windowTitle);
This line creates the window the user will see when the application is run. This is the breakdown:
MainWindow(the first time) names the variable typeMainWindow(the second time) is the constructor function call,testRigWindowis the variable name we’re assigning to the window created,windowTitleis one of the string variables we instantiated earlier, this one being the window title, andnewspeaks for itself.
Window Close Button
testRigWindow.addOnDestroy(delegate void(Widget w) {quitApp();});
This line breaks down as:
testRigWindow.addOnDestroy()makes a call to the window’s destructor (opposite of constructor) and interrupts it, allowing us to wedge in another function call of our own before the window dies,quitApp()is the function we want called before the window is destroyed,void(Widget w)defines:- the return type (
void) - as well as the argument (
w), and - the argument type (
Widget).
- the return type (
- delegate says this function definition needs to preserve its scope, so that no matter when it’s called, the arguments passed to it will still be viable.
Classic Greeting
writeln(message);
This just spits a line out to the command shell with a classic-style greeting using the other instantiated string from the top of main().
Show the Window and its Contents
testRigWindow.showAll();
We now make another call to the window object to show itself.
Start the Main Loop
Main.run();
And here we hand control over to GTK’s main loop. In a nutshell, the main loop will keep running until it gets a signal to act on from our application.
} // main()
And this is the end of the main() function. I like to mark the ends of all functions with a comment stating the function’s name in case it’s off screen. No point scrolling back up if I don’t have to.
Callback Function
void quitApp()
Here we define the quitApp() function to have no return value.
string exitMessage = "Bye.";

writeln(exitMessage);
These two lines are straightforward, a string is instantiated and used by writeln() to show that we’ve truly interrupted the window’s destroy function, and it does so by spitting out another quick message to the command shell.
Clean up and Go
Main.quit();
And lastly, after we’ve done all we wanna do (perhaps warn the user that the end is nigh) we hand over to Main’s quit() function. This makes sure our application makes a clean exit.
As with the last example (and with all of them, really) to compile:
dmd -de -w -m64 -Lgtkd.lib <filename>.d
Conclusion
That’s it for this lesson. We’ve got D and GtkD installed and we’ve done a short test to make sure everything’s working. (Let me know if everything isn’t working, okay?)
Next time, we’ll look at the OOP version of the test rig and build our first button. Until then, happy D-coding and may the widgets be with you.

Comments? Questions? Observations?
Did we miss a tidbit of information that would make this post even more informative? Let's talk about it in the comments.
- come on over to the D Language Forum and look for one of the gtkDcoding announcement posts,
- drop by the GtkD Forum,
- follow the link below to email me, or
- go to the gtkDcoding Facebook page.
You can also subscribe via RSS so you won't miss anything. Thank you very much for dropping by.
© Copyright 2024 Ron Tarrant