0062: Cairo VI – Load and Display Images
Loading images in GTK isn’t difficult, but it takes on two different forms depending on which type of file you want to load.
On the other hand, once the image is loaded, displaying it is a piece of cake.
Today we look at three examples covering both ways of loading files, two that display bitmap images and one for a structured drawing:
- loading and displaying a PNG with
createFromPng(), - loading and displaying a JPeg with
setSourcePixbuf(), and - loading and displaying an SVG, also using
setSourcePixbuf().
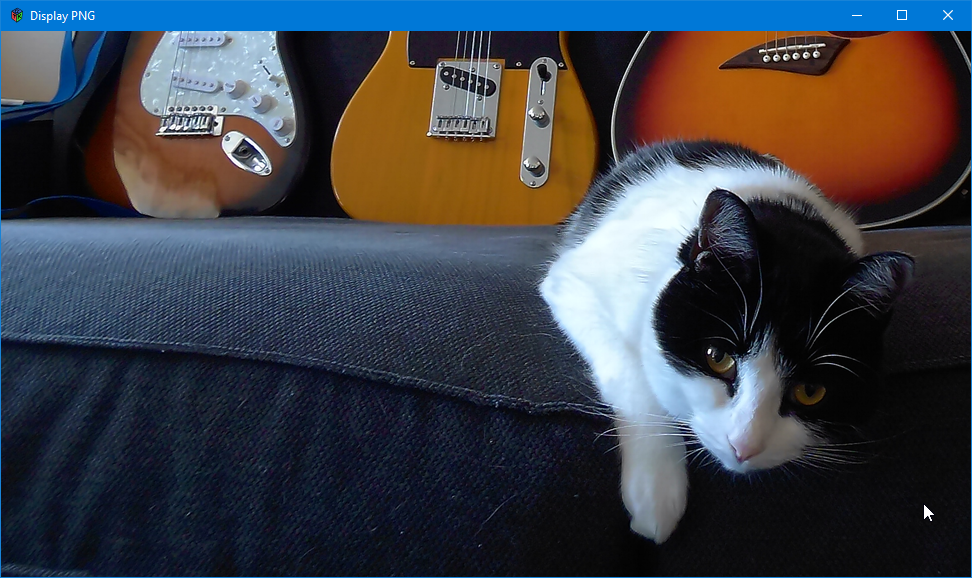
PNG – Load and Display

We’re still dealing with code that’s very much the same as all other Cairo operations we’ve done so far and—as one might expect—we have changes in the constructor as well as the callback.
First, the constructor:
this()
{
	surface = ImageSurface.createFromPng(filename);
	addOnDraw(&onDraw);

} // this()
Here, we need to create a Surface and pass it a file name, both of which are declared in the initialization section of the MyDrawingArea class:
Surface surface;
string filename = "./images/foundlings.png";
int xOffset = 0, yOffset = 0;
And when we get to the callback, here’s what happens:
bool onDraw(Scoped!Context context, Widget w)
{
	context.setSourceSurface(surface, xOffset, yOffset);
	context.paint();

	return(true);

} // onDraw()
The Context needs to associate itself with the Surface we created and because we want the entire Surface, we pass it xOffset and yOffset (coordinates for the upper-left corner) both with values of 0.
And that’s all there is to it.
The next method of loading an image can also be used with PNG format, but it will also work with every other image format supported by GTK.
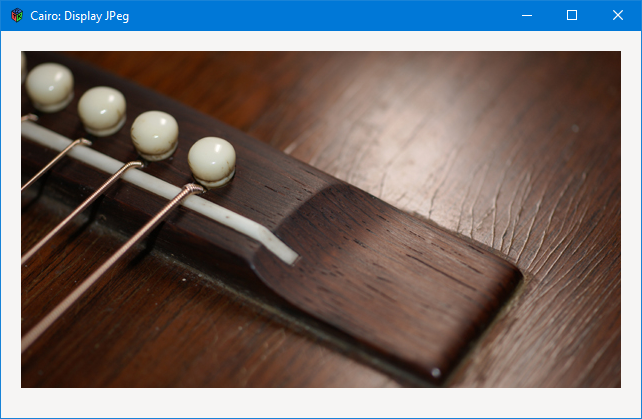
JPeg – Load and Display
This time, our initialization section gets a bit longer:
Pixbuf pixbuf;
int xOffset = 20, yOffset = 20;
string filename = "./images/guitar_bridge.jpg";
Instead of a Surface, we’ll be working with a Pixbuf. I also gave non-zero values to xOffset and yOffset because there are times when we don’t want the image to be loaded in the top-left corner. xOffset and yOffset take care of that, placing the image’s upper-left corner in a specific spot in the window.
In the call to setSizeRequest() in the TestRigWindow constructor, I made the window 40 pixels wider and 50 pixels taller than the photograph so that the offset leaves a border around the image. Note, too, that the bottom border is wider than the rest, adhering to the aesthetic we talked about in the Grid examples.
The constructor looks like this:
this()
{
	pixbuf = new Pixbuf(filename);
	addOnDraw(&onDraw);

} // this()
This is actually simpler than the first method we looked at. There’s no Surface in the middle of things. It’s there; we just don’t have to deal with it. We just load that image right into the Pixbuf and that makes it possible, in the callback, to do this:
bool onDraw(Scoped!Context context, Widget w)
{
	context.setSourcePixbuf(pixbuf, xOffset, yOffset);
	context.paint();

	return(true);

} // onDraw()
Substitute a call to setSourcePixbuf() for the call to setSourceSurface() we used before and from there’s it’s all the same.
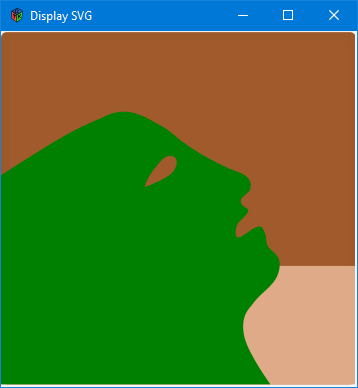
SVG – Load and Display

As you may guess, this is identical to the second method we used…
The initialization section:
Pixbuf pixbuf;
Context context;
int xOffset, yOffset;
string filename = "./images/Envy.svg";
The constructor:
this()
{
	pixbuf = new Pixbuf(filename);
	addOnDraw(&onDraw);

} // this()
And the callback:
bool onDraw(Scoped!Context context, Widget w)
{
	context.setSourcePixbuf(pixbuf, xOffset, yOffset);
	context.paint();

	return(true);

} // onDraw()
And, of course, this method also works for BMP, GIF, TIFF, and any of the other formats we found in the list formats example.
Conclusion
So, now we know how to load and display images. Next time around, we’ll tackle drawing images and then saving them.
Until then.

Comments? Questions? Observations?
Did we miss a tidbit of information that would make this post even more informative? Let's talk about it in the comments.
- come on over to the D Language Forum and look for one of the gtkDcoding announcement posts,
- drop by the GtkD Forum,
- follow the link below to email me, or
- go to the gtkDcoding Facebook page.
You can also subscribe via RSS so you won't miss anything. Thank you very much for dropping by.
© Copyright 2023 Ron Tarrant