0058: Cairo II – Rectangles
Picking up from last time, let’s continue looking at basic draw operations. Because these procedures consist of just a few statements each—and all else being the same—we’ll just examine the callback functions for each example.
So, let’s start with rectangles.
The Outlined Rectangle
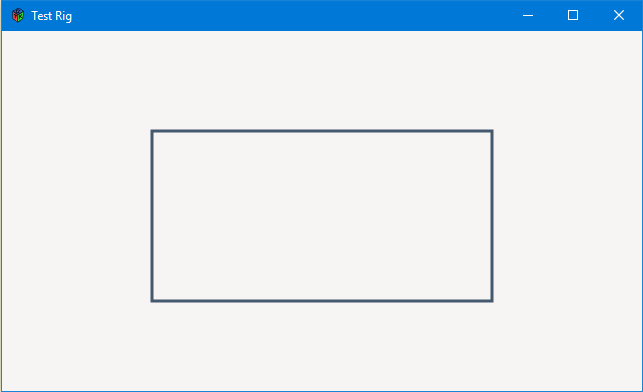
This first example is pretty much like the line-drawing example except we don’t have to make multiple calls to the lineTo() function. Instead, it’s just one call to rectangle():
bool onDraw(Scoped!Context context, Widget w)
{
	context.setLineWidth(1);
	context.setSourceRgba(0.1, 0.2, 0.3, 0.8);
	context.rectangle(x, y, width, height);
	context.stroke();

	return(true);

} // onDraw()
The rectangle() arguments are as they seem, x and y coordinates of the upper-left corner, followed by the width and height.
The Dashed-line Rectangle
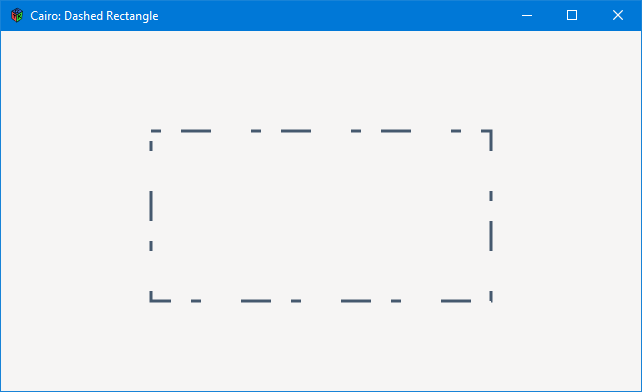

With this example, we need to do a bit more prep before we get down to the drawing:
bool onDraw(Scoped!Context context, Widget w)
{
	double[] dashPattern = [10, 20, 30, 40];
	context.setLineWidth(3);
	context.setSourceRgba(0.1, 0.2, 0.3, 0.8);
	context.rectangle(150, 100, 340, 170);
	context.setDash(dashPattern, 0);
	context.stroke();

	return(true);

} // onDraw()
The dash pattern is an array of doubles and can be summed up as:
- dash length,
- space length,
- dash length,
- space length,
- etc.
A Few Other Things to Remember
- In theory, you can have any number of dash pattern numbers you want.
- Numbers can be with or without decimals. A Context will treat 25 the same way it treats 25.0, but of course, you can go sub-pixel with fractions such as 25.3 or whatever.
- Changing the line caps with the setLineCap() function will affect the look of a dash pattern to the point where your dash pattern numbers may seem like they’re being ignored.
The Filled Rectangle
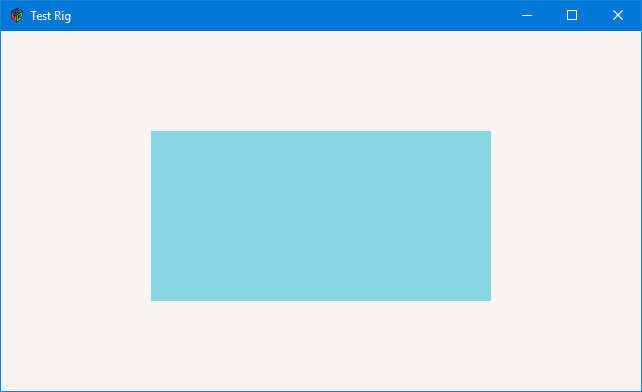

The callback for filling a rectangle looks like this:
bool onDraw(Scoped!Context context, Widget w)
{
	context.setSourceRgb(0.541, 0.835, 0.886);
	context.rectangle(150, 100, 340, 170);
	context.fill();

	return(true);

} // onDraw()
No mystery here, just substitute context.fill() for context.stroke() and if you want to have the rectangle outlined and filled…
The Outlined and Filled Rectangle
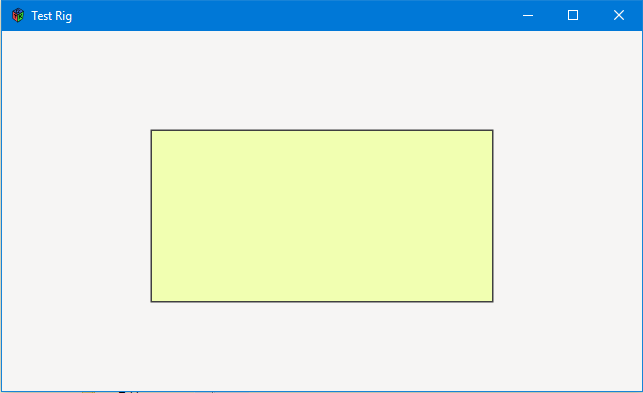

For a filled and outlined rectangle, the callback will look like this:
bool onDraw(Scoped!Context context, Widget w)
{
	// outline
	context.setLineWidth(3);
	context.setSourceRgba(0.25, 0.25, 0.25, 1.0);
	context.rectangle(150, 100, 340, 170);
	context.stroke();

	// fill
	context.setSourceRgba(0.945, 1.00, 0.694, 1.0); // yellow
	context.rectangle(150, 100, 340, 170);
	context.fill();

       return(true);

} // onDraw()
And finally, let’s look at…
A Transparency Example

The callback is:
bool onDraw(Scoped!Context context, Widget w)
{
	// middle gray background
	context.setSourceRgba(0.75, 0.75, 0.75, 1.0);
	context.paint();

	// draw the blue line
	context.setLineWidth(20);
	context.setSourceRgba(0.384, 0.914, 0.976, 1.0);
	context.moveTo(10, 166);
	context.lineTo(630, 166);
	context.stroke();

	// 10 yellow rectangles with graduating transparency
	foreach(int i; 0..11)
	{
		context.setSourceRgba(0.965, 1.0, 0.0, (i * 0.1));
		context.rectangle((i * 56), 150, 32, 32);
		context.fill();
	}

	return(true);

} // onDraw()
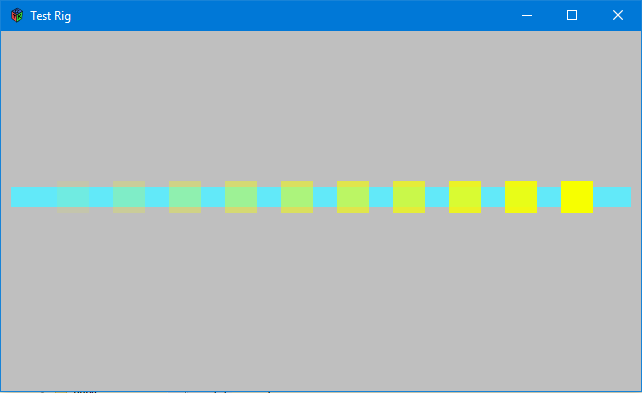
What we’re doing here is:
- filling the background with a middle gray color, and
- drawing a thick blue line so we have something to see behind the…
- 10 transparent yellow cubes in the foreground.
And there’s nothing all that mysterious about the code. The for() loop places the yellow cubes about 24 pixels apart along the x axis, increasing the opacity as it goes.
Conclusion
And that’s all we’ll do with rectangles for now. Next time we dig into circles and arcs. Until then…

Comments? Questions? Observations?
Did we miss a tidbit of information that would make this post even more informative? Let's talk about it in the comments.
- come on over to the D Language Forum and look for one of the gtkDcoding announcement posts,
- drop by the GtkD Forum,
- follow the link below to email me, or
- go to the gtkDcoding Facebook page.
You can also subscribe via RSS so you won't miss anything. Thank you very much for dropping by.
© Copyright 2023 Ron Tarrant