0009: Boxes
Today we’ll see how to get more than one widget into a window using a GTK container type called a Box. We’ll use two different techniques, adding and packing. And even though we don’t really talk about it, there’s a third example which, when compared to the second example, shows the difference between packStart() and packEnd(). You’ll find that example near the end of this post.
Containers
This is a whole can of worms, this container stuff. GTK has several types and the one you’ll pick will depend partly on whether you want to handle the layout yourself or leave it up to GTK. Other criteria include spacing of child widgets within the box, absolute or relative placement, padding, etc.
A GTK Box is the simplest of the containers. The order you add things to the box is the order they appear. If the box is oriented vertically, the first widget will be at the top, the last at the bottom. And if it’s oriented horizontally, they’ll go left to right.
We have three methods for getting things into a Box, add(), packStart(), and packEnd(). The add() function just piles things in there (although the analogy of the box breaks down when you realize the first thing you throw in doesn’t end up at the bottom of the box.) This isn’t all that surprising because add() is inherited from GTK Container which itself is generic.
The pack functions, on the other hand, give you more control. They originate as functions in the Box class and give you some control over how your widget critters are crammed in. You even get to spoil one or more child widgets by allowing them to expand and take over most of the space, leaving the non-expanded children to huddle together in whatever space is left over.
More Buttons
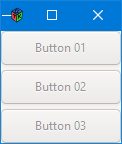
As there would be little point in showing a box example containing a single widget (who would even know the Box was there?) we’ll work with three buttons.
And the Box
The code for the Box looks like this:
class AddBox : Box
{
	string[] labels = ["Button 01", "Button 02", "Button 03"];
	ActionButton[] buttons;

	this()
	{
		int buttonCount = 0;

		super(Orientation.VERTICAL, 5);
		// super(Orientation.HORIZONTAL, 5);

		foreach(label; labels)
		{
			ActionButton button = new ActionButton(label);
			buttons ~= button;
			add(buttons[buttonCount]);
			buttonCount += 1;
		}

	} // this()

} // class AddBox
We’re using another derived class, the AddBox, with data in the form of arrays, one for button labels and the other for the button objects themselves. We could also have written out each declaration of ActionButton in full and kept the label text as simple arguments to each declaration. Perhaps it would have been a bit more typing, or maybe not. It really doesn’t matter and this took a bit more planning than doing it straight up, so it was a tad more engaging.
All we’re doing in the constructor is instantiating with super() and then stepping through the list of labels as we add buttons, stuffing each into the button object array in case we need to refer to them by name again later.
The ActionButton

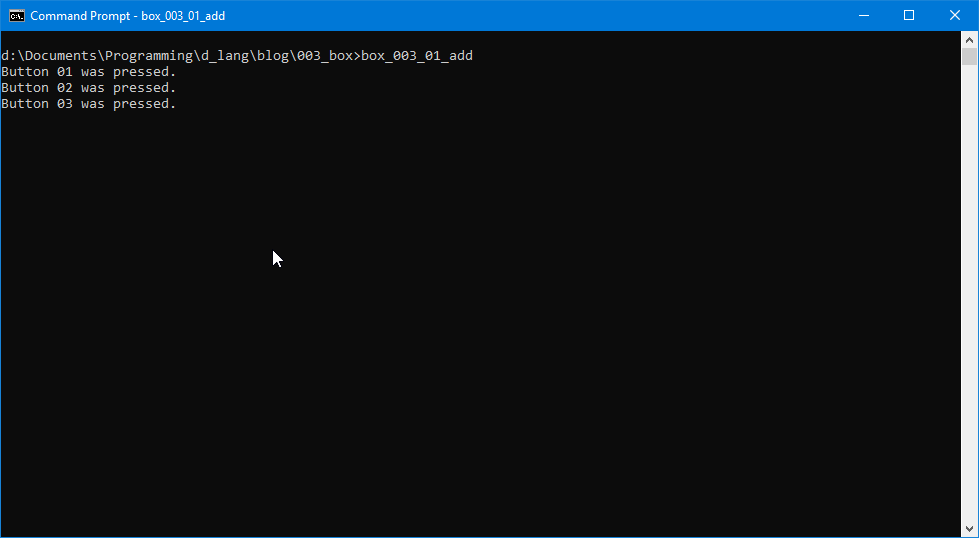
Nothing really new here. We’ve used this generic button so many times by now, you should know it well. The only new thing we’re doing is, as the user clicks each button, we grab the button’s actual label text to print out to the command line like this:
writeln(getLabel(), " was pressed.");
And that’s pretty much it for that example. On to packing…
Packing a Box
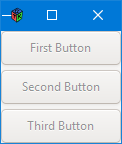
Skipping right to where this example differs, let’s zero in on the PackBox class:
class PackBox : Box
{
	string[] labels = ["First Button", "Second Button", "Third Button"];
	ActionButton[] buttons;

	this()
	{
		int countButts = 0;

		super(Orientation.VERTICAL, 5);

		foreach(label; labels)
		{
			ActionButton button = new ActionButton(label);
			buttons ~= button;
			packStart(button, true, true, 0);
		}

	} // this()

} // class PackBox
The only real difference here is in this line:
packStart(button, true, true, 0);
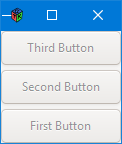
There is a corresponding packEnd() and it really doesn’t matter which one you use. It’s a matter of aesthetics. Start from the start or start from the end. Pick one and go for it.
The arguments are:
- child: the name of the widget we’re packing,
- expand: spoil the child, give it all the room it wants,
- fill: a bit complex, so see the note below,
- padding: extra space around the child.
Okay, a bit of explanation about ‘fill.’ When a child widget is packed into a box, if the box is oriented vertically, the child gets its fair share of vertical space. It’s divided up evenly with all the other children… unless one or more is given the expand privilege. But what fill does is control how much space the child takes up on the other axis. If the Box is set to Orientation.VERTICAL, fill controls the horizontal space. And vice versa. When Orientation.HORIZONTAL is used, fill controls how much vertical space the child takes up.
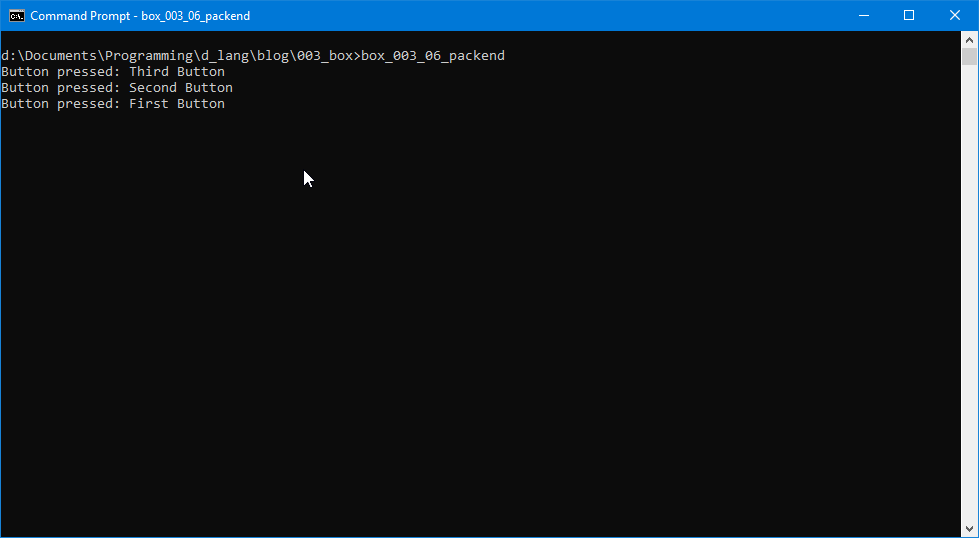
And here’s the third example illustrating packEnd():
Conclusion
And that is that. You now know how to pack a box as well as add things to it. Until next time, happy widgets and may the D-coding be yours.

Comments? Questions? Observations?
Did we miss a tidbit of information that would make this post even more informative? Let's talk about it in the comments.
- come on over to the D Language Forum and look for one of the gtkDcoding announcement posts,
- drop by the GtkD Forum,
- follow the link below to email me, or
- go to the gtkDcoding Facebook page.
You can also subscribe via RSS so you won't miss anything. Thank you very much for dropping by.
© Copyright 2023 Ron Tarrant